In this article you are going to learn how to upload digital products on the Selar platform. It doesn’t matter whether it’s an eBook, video courses, tickets, subscription services or even a physical product, Selar is a suitable website to host these digital products and facilitate sales.
Before we proceed it is important that you already have a Selar.co account. If you are yet to create one, I will also include a step by step guide on how you can register on Selar and also finally show you how to upload your digital products on the Selar platform.
To start-up, Selar is an online digital marketing host website. In other words, Selar is a website where entrepreneurs can upload their products in the absence of a branded/personal website. Selar can be likened to amazon, except in this case, people shop for online digital products like courses, ebooks etc.
See Also:Selar.Co Review: Worth Using? (Detailed Inside Look)
How To Create A Selar Account
Creating an account with Selar is super easy, simply observe the following to get started right away;
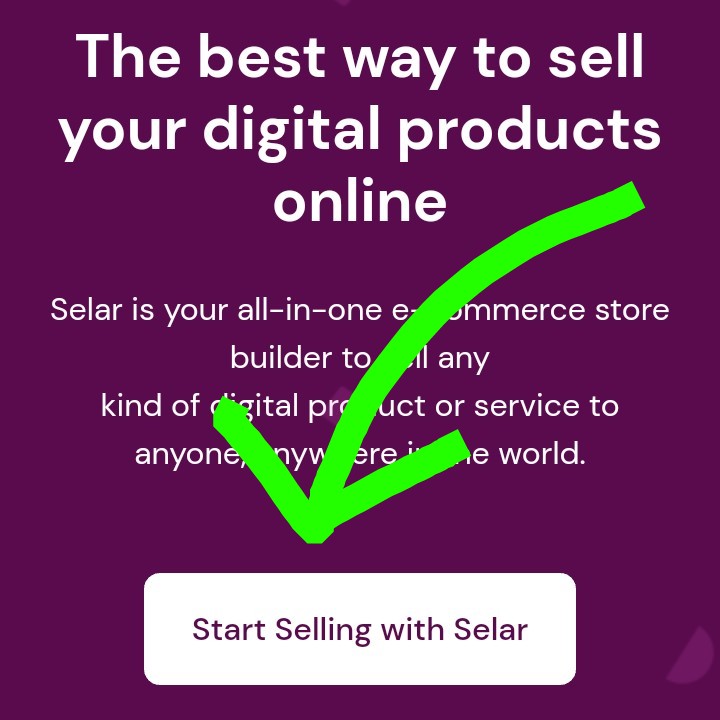
- Go to Selar.co on your browser.
- Click on “start selling with Selar”.
- Fill up the registration form that follows with your correct information.
- After filling up the form click on “create account”. You can skip this process by choosing to sign up with your social media accounts or gmail account as provided on the Selar registration form.
Congratulations🍹, you have completed the very first step on the journey of uploading your digital products to Selar. Do ensure to fill up the form with the exact names and credentials as provided with your local bank so as to avoid payment issues.
How To Upload Digital Products On Selar.co
To upload your digital products on Selar, observe the steps outlined below. Also make sure you have followed the instructions above and have successfully created your personal Selar account/profile.
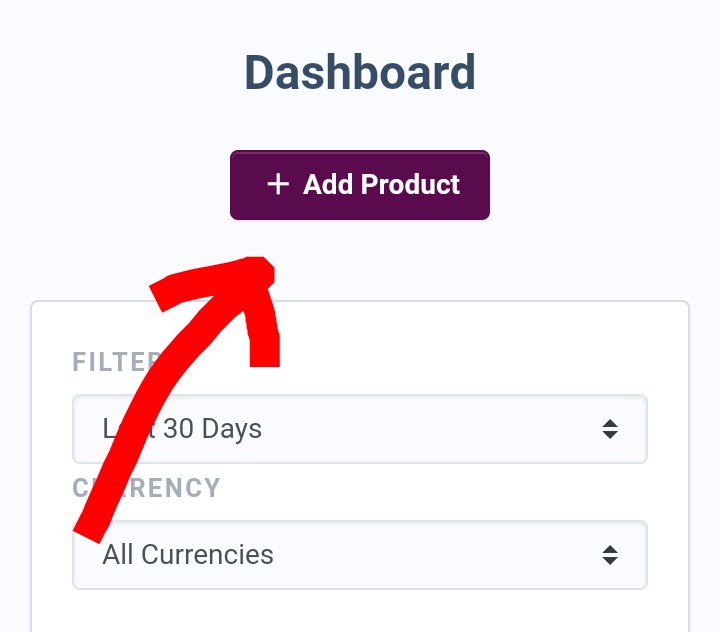
- Login to your Selar account/dashboard.
- Click on the purple button that reads ” Add product”.
- On the next page, select the type of digital/physical products you want to upload on Selar. If you intend to sell an eBook, click on “digital product”. If you intend to sell a physical product that can be shipped to customers, then select “physical products”. And so on for the rest of the available options.
Note: The options labelled “pro” and “turbo” are strictly for Selar users who have upgraded their Selar accounts. An upgrade in Selar means the user gets more band space to upload files of larger sizes (bigger than 150 mb) on Selar.
Free Selar users have a maximum space allowance of 150 mb beyond which you cannot be permitted to upload on Selar. The Selar upgrade costs $20/month or N8000/month for Nigerians.
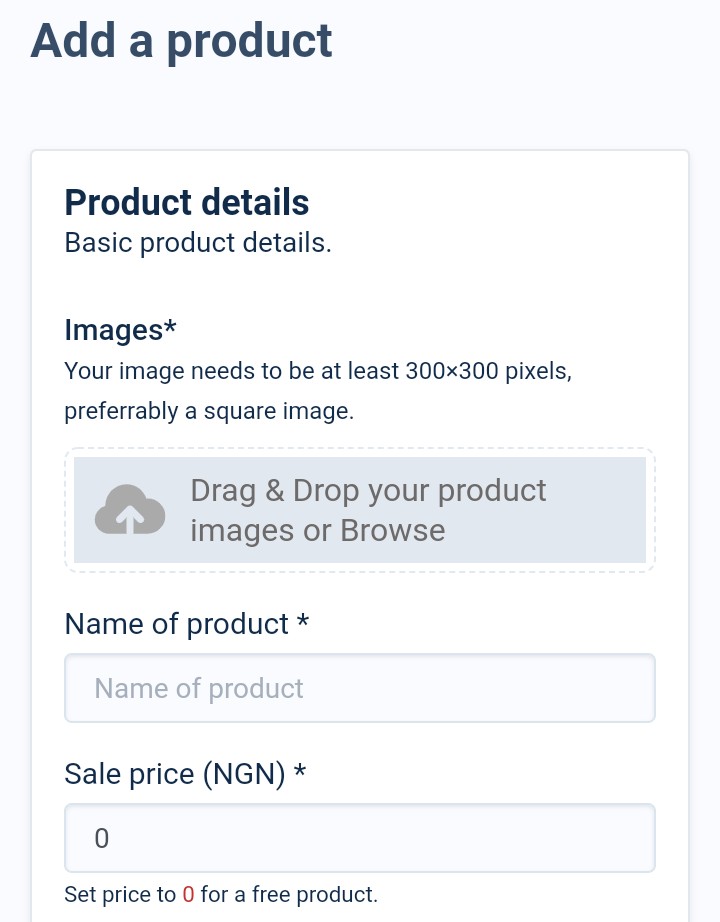
- After following the previous point, you will be led to the product settings page which looks like the image shown above.
- Upload the cover image of your digital product or the promotional image of your product, input the name of your product and the price at which you intend to sell your product.
- You can select the “show striked price” box if you intend running a discount on your product whilst also showing your customers the original price of your digital product and the present selling price.
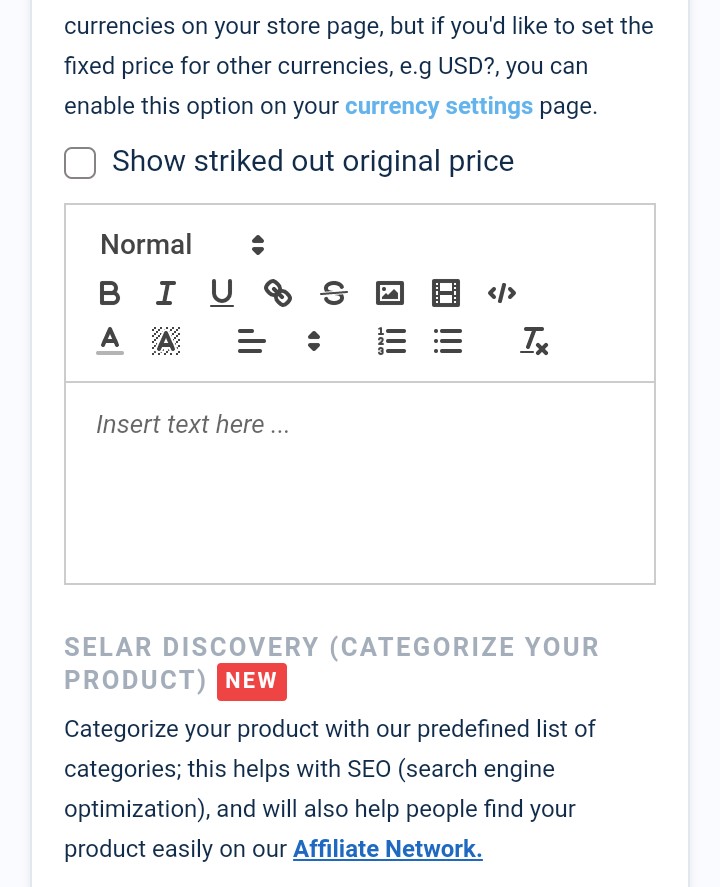
- Add your product description or sales copy in the box/space provided. Selar provides you with various writing/editing tools just above the display space to help organise and beautify your description or sales copy.
- Next, add the category of your digital product. If your eBook is about weight loss then obviously the category will be “health” and so on. Also select a subcategory to further specify the type of digital product you are uploading.
- Next is the “product variation feature”. This feature is mainly applied to physical products. Assuming you plan to sell I phones on Selar, you could upload different variations of these iphones like ‘black coloured I phones’, ‘red iPhones’, etc. This is done because different customers have different tastes for the same product.
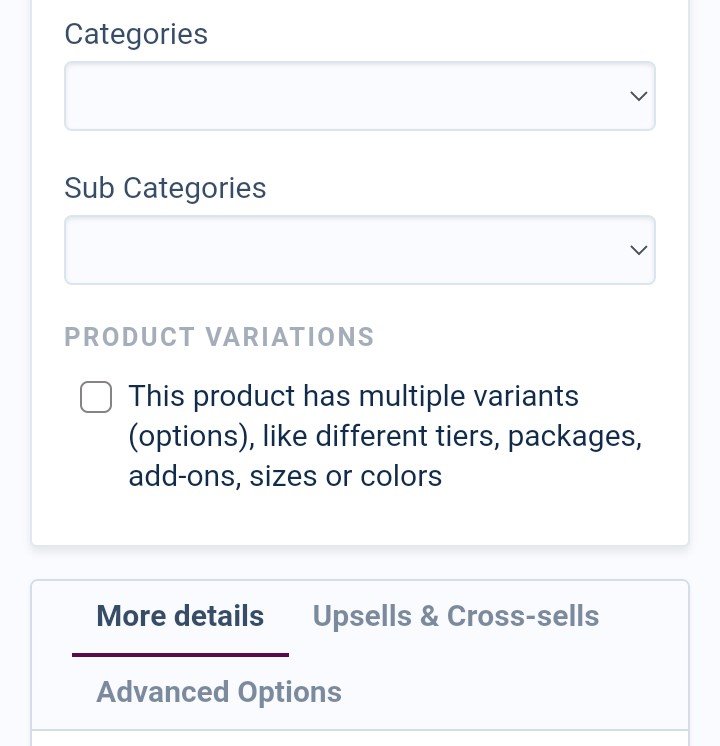
- You can check the box labelled “this is a pre-order product” if you are yet to launch your product but want to start deciding payments. Maybe you have set a specific future launch date but have started receiving payments before the launch date.
- Check the box titled “Give buyer access to file”. By doing so, your customers automatically gain access to the product they paid for. Disabling this means, customers won’t be able to access the digital product after successful payment.
- Under file access type, select ” downloadable file” if you want your customers to be able to download the product directly to their devices. Contrary to that, select “read online only” if you only want them to access the file on Selar.
- Select the drag and drop button and upload the file or document you wish to sell on Selar. The maximum file size is 750 mb.
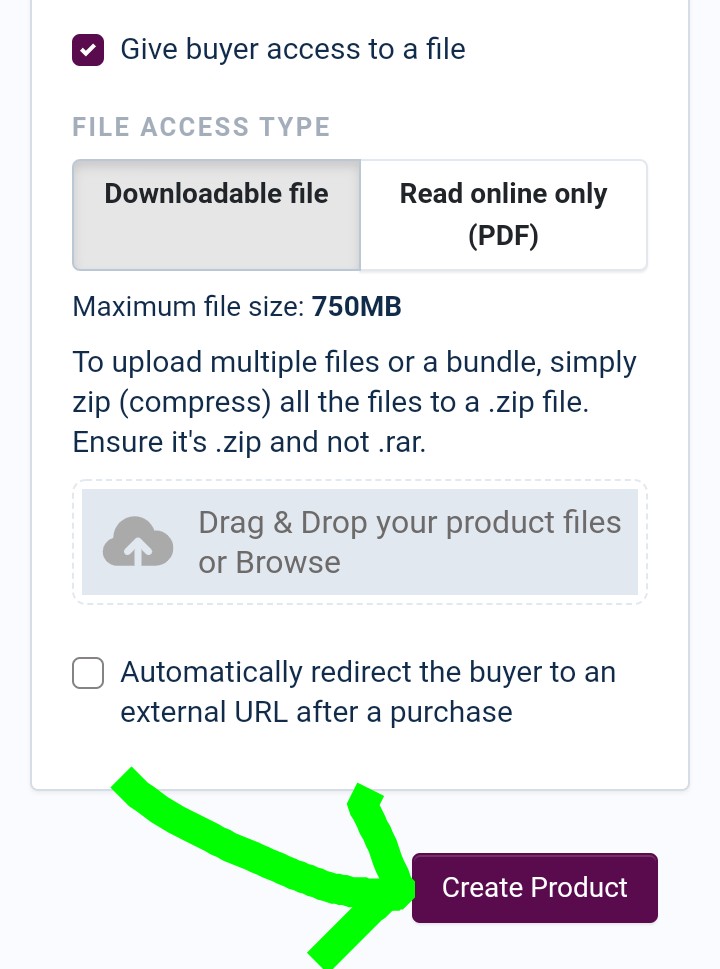
- Check the last box titled “automatically redirect buyer..” Do check this box if you want to redirect your buyers to a squeeze page or buyers list after successfully purchasing your product.
- Finally, click on “create product“.
Automatically, Selar will create a default product store for you and your store link or ID which you can change/customise whenever you want to. Copy the store link and send it to your customers so that they can make purchases of your products on Selar.
How Do I Withdraw From Selar?
After making some sales from your products which you have uploaded on Selar, the next mind boggling question is obviously how to withdraw your earnings to your bank account and get that peace of mind, obviously.
There are two major payment/withdrawal systems on Selar. They are the automatic payment system and the manual payment system. In either case it takes approximately 24 hours for payments to settle in your account pending when you made a sale or placed withdrawal.
Selar Automatic Withdrawal
By default, upon creating a new account. All new accounts are set to automatic withdrawal payout. Here, all you need to do is to set your payment destination (bank details) and whenever a customer purchases your product, by default, your earnings will be sent to you the next day (after 24 hours).
Using this method, there is absolutely no need to place or request for withdrawals because withdrawals are done automatically.
Selar Manual Withdrawals
Using the manual withdrawal method, users can request for withdrawals at will. To be able to do this, kindly observe the steps outlined below;
- Login to your Selar dashboard.
- Click on the menu icon at the top right hand side of the screen.
- Click on settings and select payout settings.
- On the new page, click on the payout schedule tab and select manual.
- Finally, click on “update payout preferences”.
After updating this setting, you can now place withdrawals whenever you want to at your own will. Selar charges #50 per withdrawal and each withdrawal takes approximately 24 hours to settle in your local bank account.
See Also:Addmefast Review: Real Or Fake? (How Much You Can Really Make)
Frequently Asked Questions
What Is Selar Used For?
Selar is an online digital marketplace where entrepreneurs can upload and host their digital/physical products. Selar has been applauded as one of the leading websites where ebooks and video courses can be sold.
Does Selar Work In Nigeria?
Yes, Selar is currently supported in Nigeria as well as four other African countries which consist of; Kenya, Uganda, Ghana and South Africa.
Who Owns Selar?
Douglas Kendyson is the founder of Selar.co, Selar was established in 2016 and as at march 2023 it boasts of over 80,000 active users across the continent.

